Search our Knowledge Base
Search

Add Links


Link Manager tracks and reports weekly status on the links that you add (manually or bulk import).  You can add important link details, attach related files, view SEO and social media metrics, and analyze expenses, user activity, and suppliers.  

Links are tracked weekly beginning on the day that they are added to Link Manager.

If a link status is not what you expect it to be, please refer to Link Status Validation and contact us if you need further assistance.

Add Links - Individually or Bulk
 

Video: How to Add Links and View Link Reports


Add Links Manually

 
Add Link
  • Open Reports & Tools > Organic Search > Link Manager > Links 
  • Click the +Add Link button.

Open Link Manager


Enter Link Details
 
add link to track

  • Link From (Source URL): enter the full URL address of the web page that contains the link to the Target URL
    (i.e., https://www.FromWebsite.com/page.html)

    You can click the Preview icon to review a list of links, anchor text, and additional information that Link Manager has scanned from the Source URL, and click the Select button for the link you want to track. Selecting the link from this Preview will complete the Link From, Anchor Text, and Link To fields.

    link preview


  • Anchor Text: the "link to" anchor text, this must be the exact keyword or phrase that is linked to the destination site.

    If the link is attached to an image and not text, click the Image icon.

    track image links


  • Link To (Target URL): The full URL address of the web page that the Anchor text links to on the destination site
    (i.e., https://www.DestinationSite.com/page.html)

  • Select Campaign (Optional) from the list of existing Campaigns. It is recommended to assign all links to an appropriate Campaign in order to run the Campaign based reports

  • Select Profile (Optional) (refer to Create Profiles for instructions on setting up new profiles)

  • Select User (refer to Manage Sub-Users for instructions on setting up new users)

  • Select Supplier (refer to Add and Manage Contacts for instructions on setting up new suppliers)

  • Click the Save button.


Additional Information (optional)

Enter any additional information that you want to track for the link.
 
Enter additional link details
  • Select the Link Position (e.g., Header, Middle, Footer, Other)
  • Select the Link Type (e.g., Paid, Non-Paid, Exchange, Tier 2 Link)
  • Enter the Link Price (if paid link) and select the currency
  • Enter Invoice number, if applicable
  • Select Start Date
  • Select Expiration Date
  • Enter any Notes you'd like stored
  • Click the Save button

Duplicate Links

When the link has been successfully added, you'll see a Duplicate button that can be used to conveniently create a copy of all the data to a new link, and you can then change only the differing fields.

duplicate links in Link Manager

Link Status

Immediately after adding a link, it displays in the Link Manager report with a status of Processing. Please allow 24 hours for all metrics to be collected when you add new links. Link data is updated weekly after the initial collection of data. If a link status is not what you expect, please refer to Link Status Validation and contact us if you need further assistance.
 
link manager link status


Bulk Import Links


Bulk import links

Prepare your import sheet in Excel (.xls) format as instructed below. When your data is ready click Reports & Tools > Organic Search > Link Manager > Links in the top navigation area.
  • Click the Import Links button on the top right
  • Click the Choose File button.
  • Navigate to and select your file.
  • Then click the Upload button.
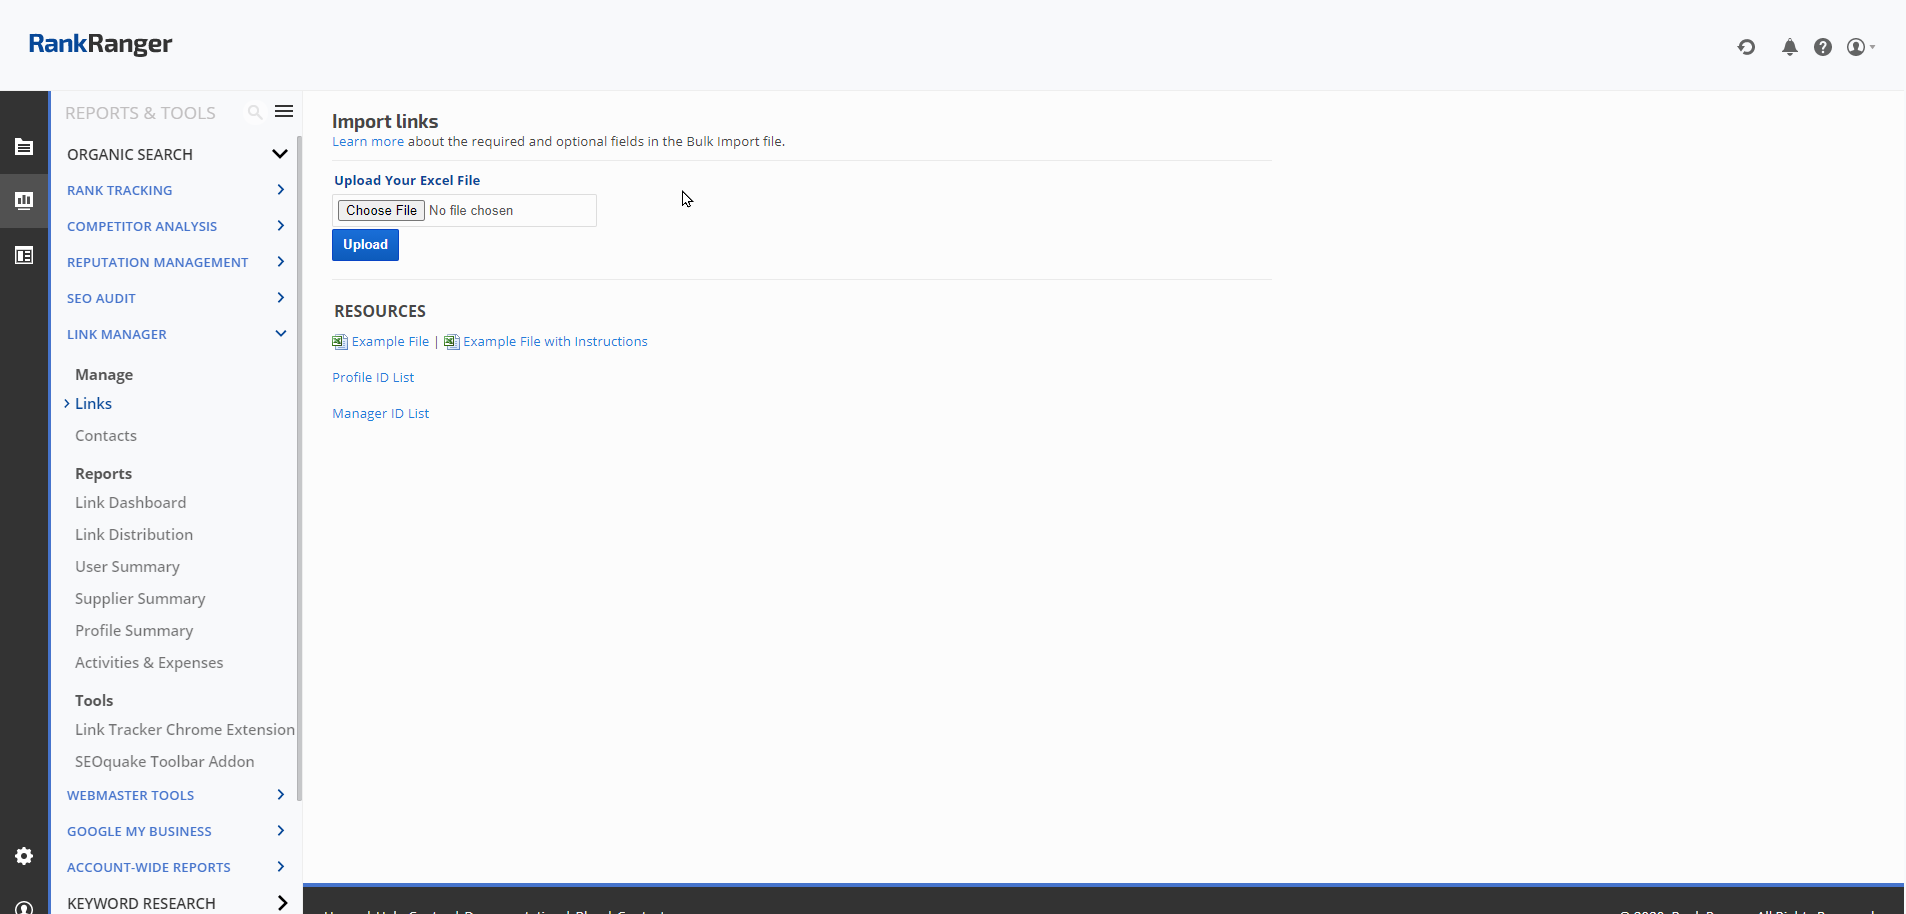
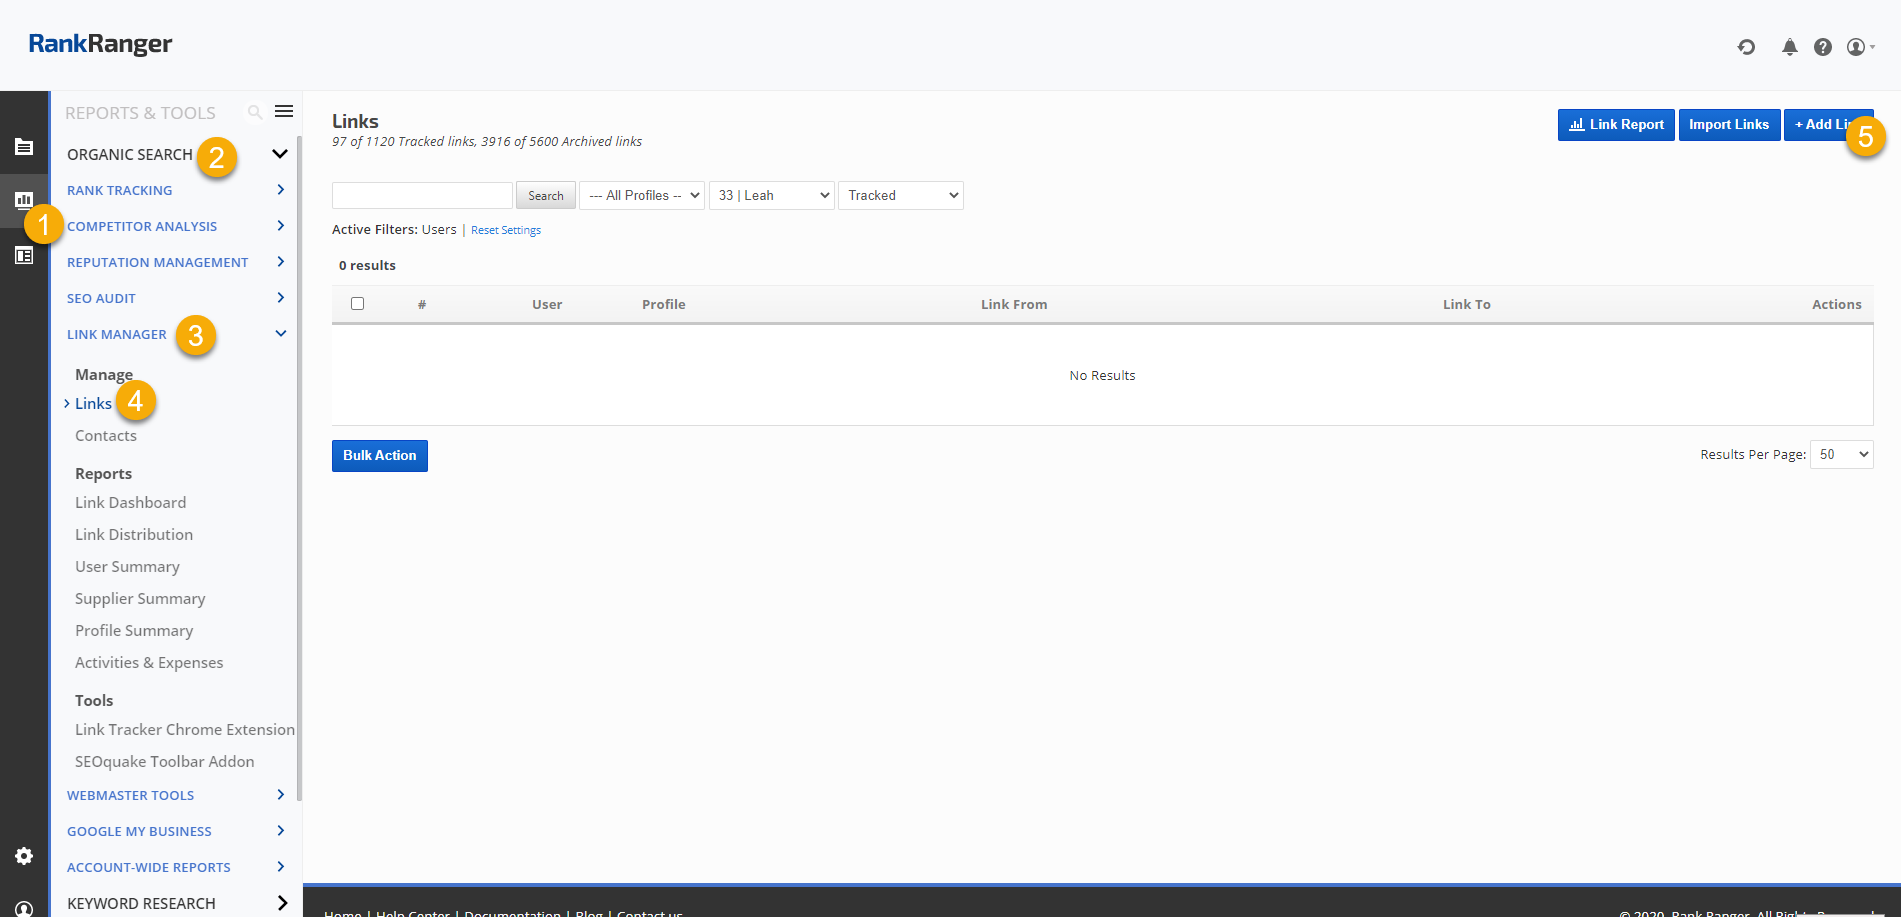
Option to Bulk Import from Backlinks Explorer

There is an option to bulk import using Backlinks Explorer. The details could be found in the Backlinks Report documentation

Prepare Bulk Import Data


Download the Link Import Example file, obtain your Profile ID and Manager ID lists and enter the required Link data and any optional data that you might need in the future. Entering optional data using the spreadsheet will save you time in the future because after you've imported the file, changes must be made manually in each Link Details screen. The example file is in .xls format, make sure that when you save it you save it as an Excel spreadsheet in .xls format.

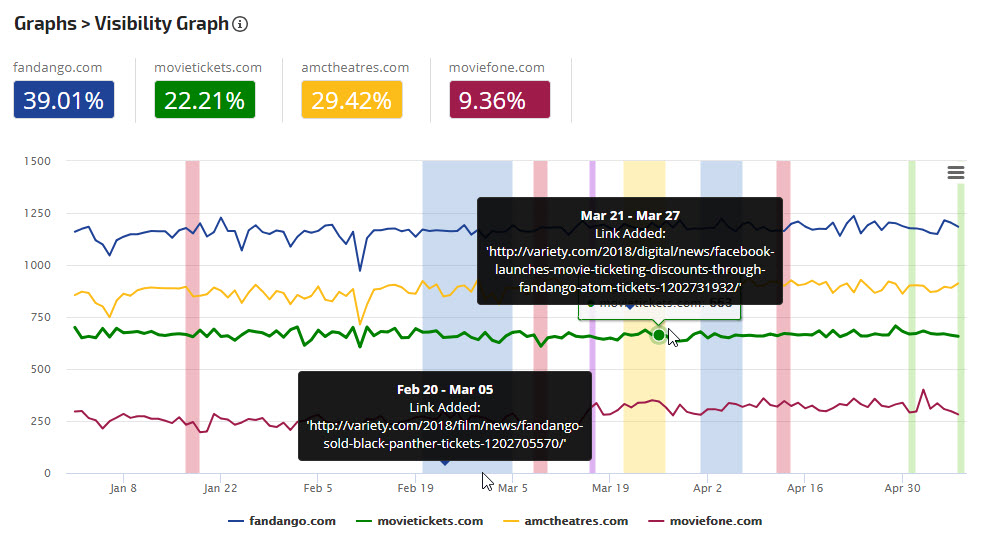
Compiling the data for thousands of links can be a challenge!  Consider adding one Profile or small batch at a time. Then after importing the first batch of links, you can view the reports to help determine if there is additional information you want to include before importing more links. 

Import Field Definitions

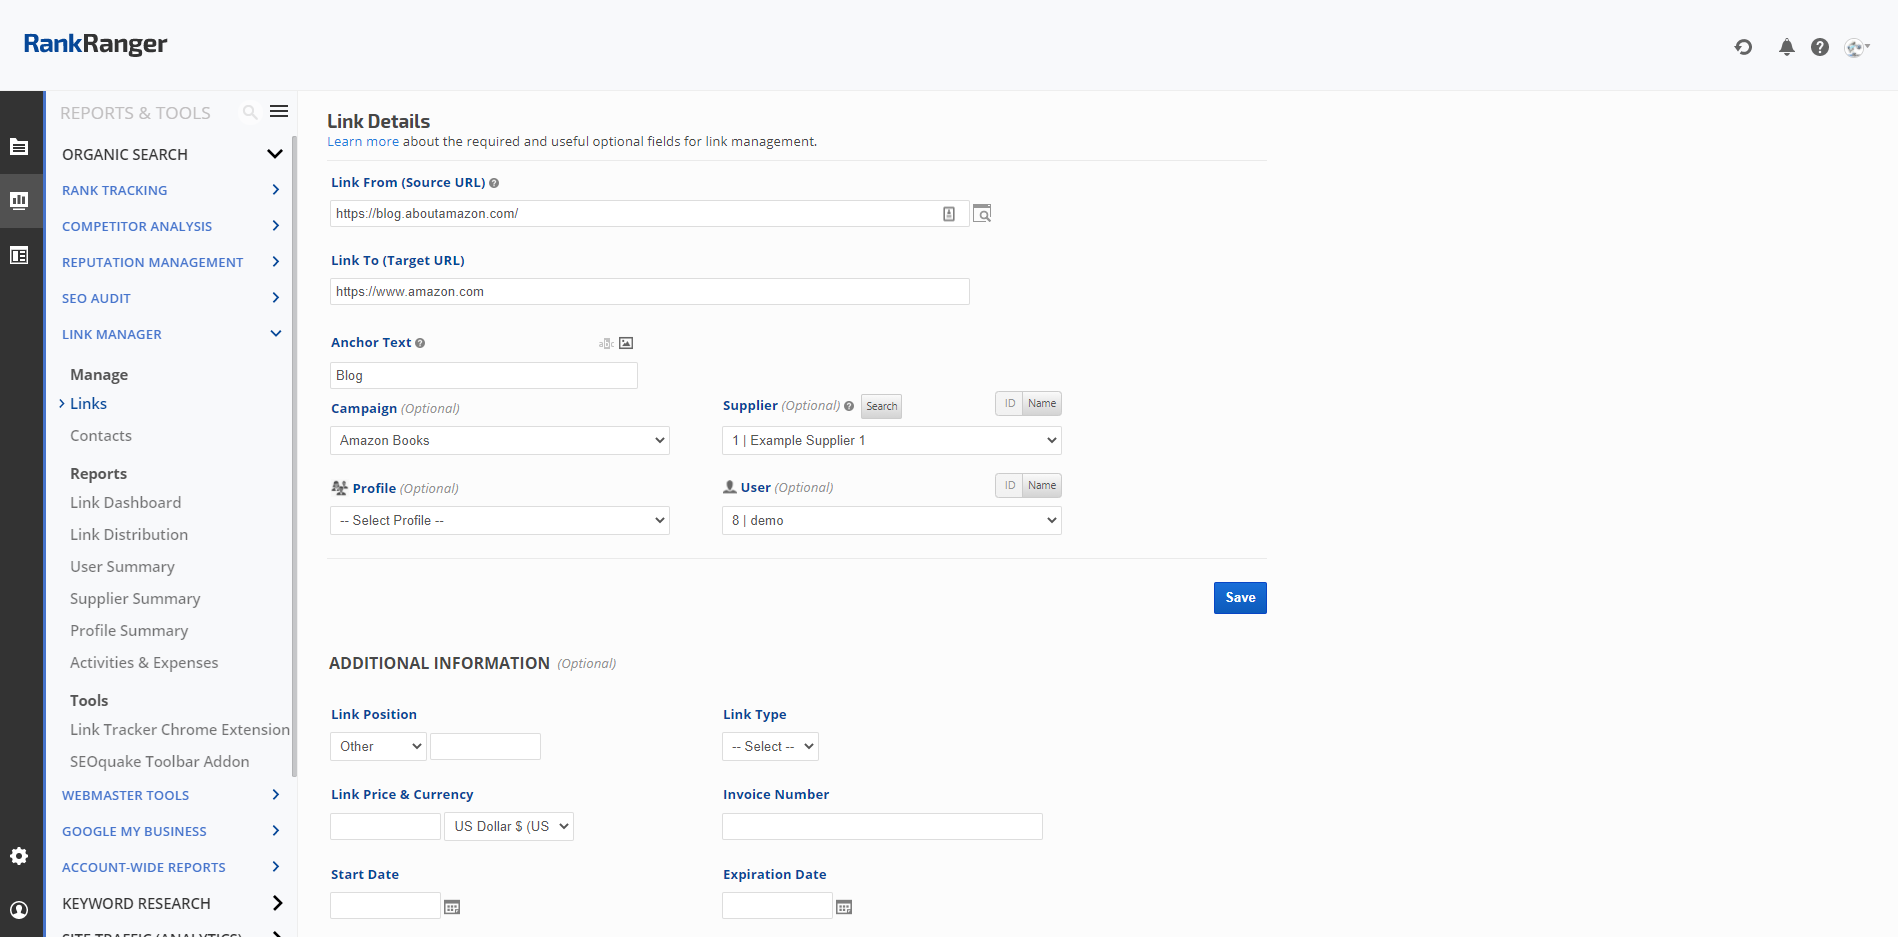
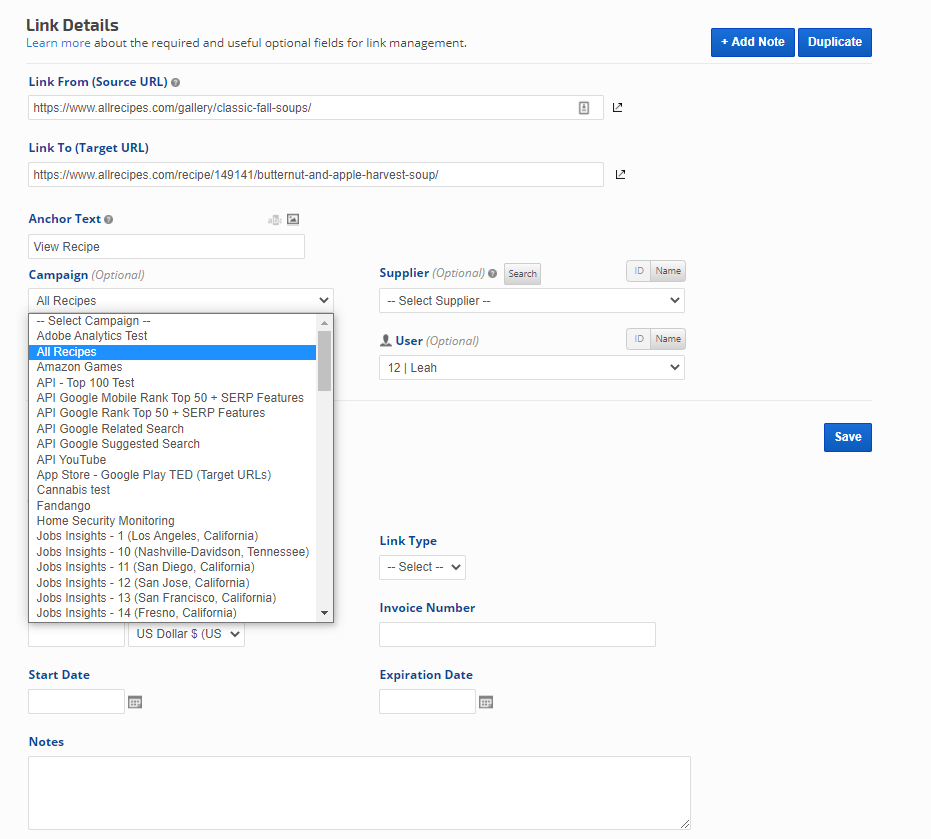
Column A manager_id (required) This is very useful if you assign responsibility for specific links to individuals in your company (or contractors). It needs to match the ID number of a Sub-user.  This feature enables filtering by the user in the Link Dashboard, Link Distribution, and User Summary report.  Before utilizing this feature, you need to create Sub-users first. Then add the ID numbers to the Links in the spreadsheet before importing.

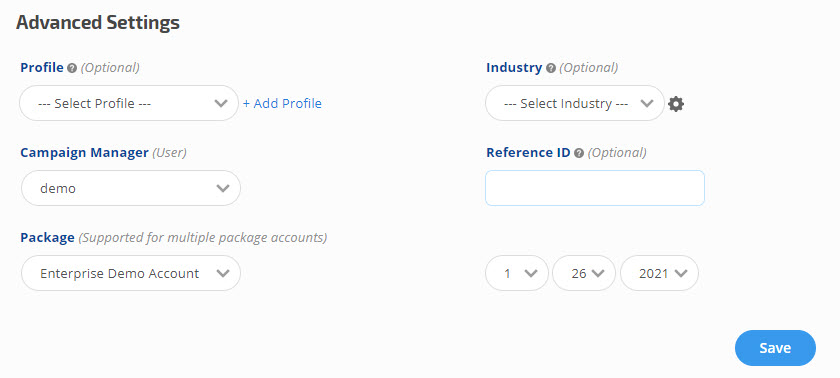
Column B  profile_id    (optional) Profiles allow you to organize rank tracking and link tracking campaigns into associated groups.  Create Profiles using the customer name, industry name, project name, URL, etc. This field must match the ID number of a Profile.

Column C  campaign_id    (optional) Campaigns allow you to assign link tracking to an associated campaign.

Column D  supplier_id  (optional)  This field allows you to attach a Link Supplier from your Contacts to a Link and filter the Link Dashboard by suppliers, as well as analyzing supplier performance in the Supplier Summary report.   Refer to Add and Manage Contacts for instructions. This field must match the ID number of a Contact.

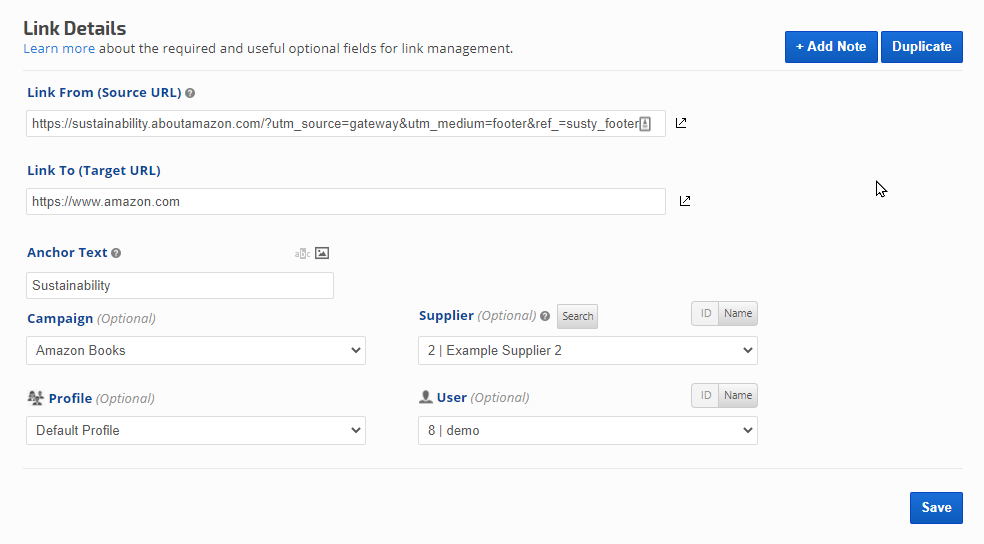
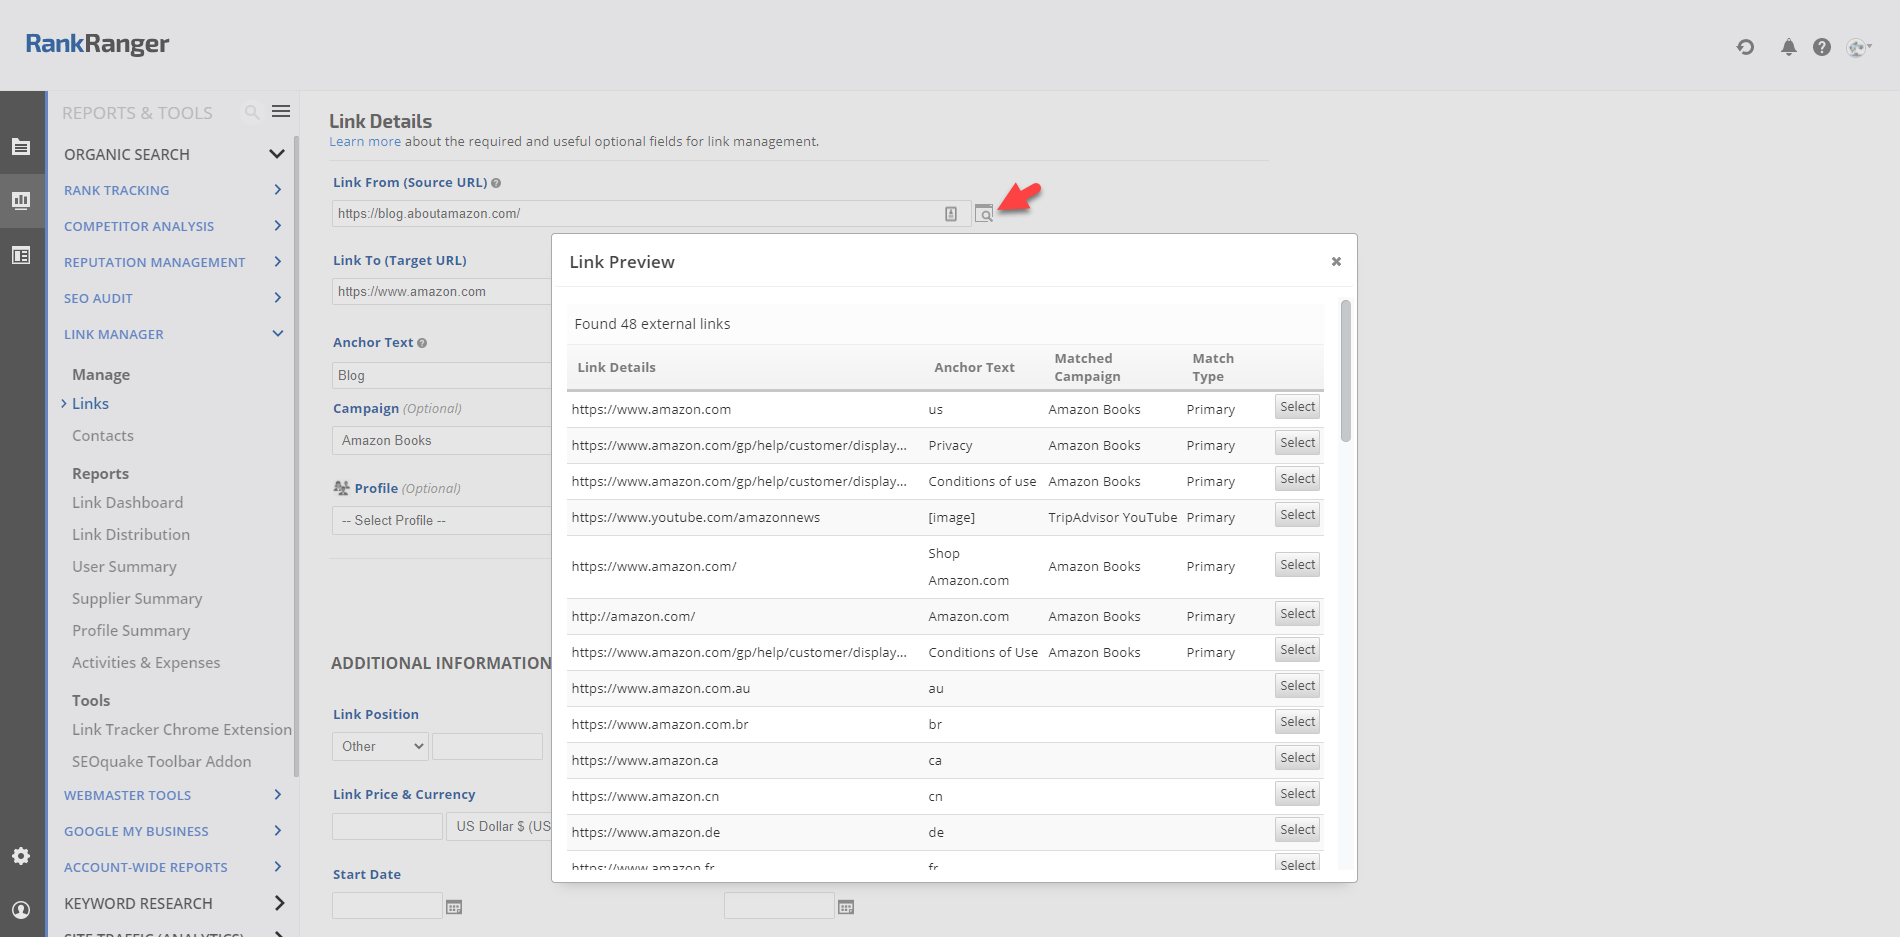
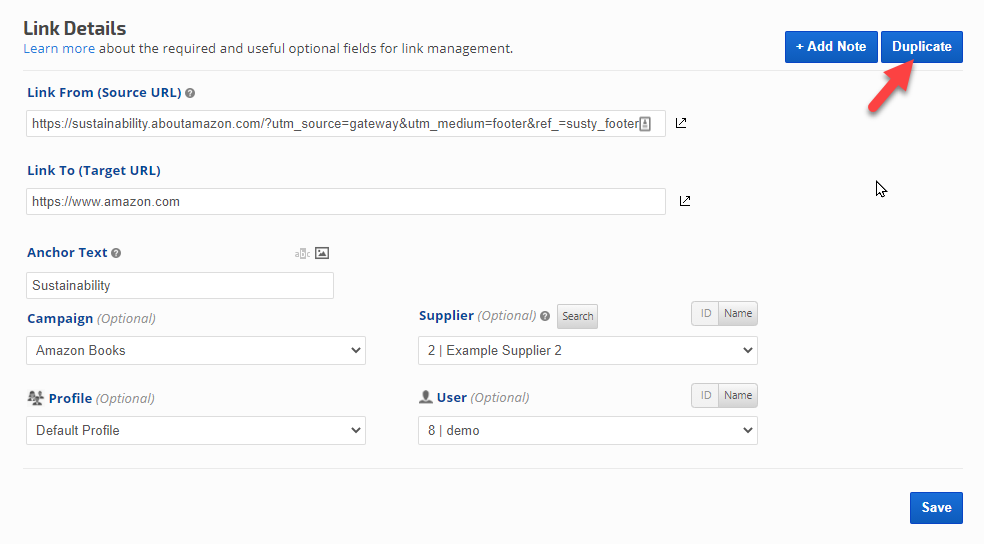
Column E  link_from   (required) This is the source page URL, the page that contains the link and anchor text to your target page. URL format must include http:// or https://

Column F
  linking_to  (required) This is the destination URL, the target of the link_from page. URL format must include http:// or https://

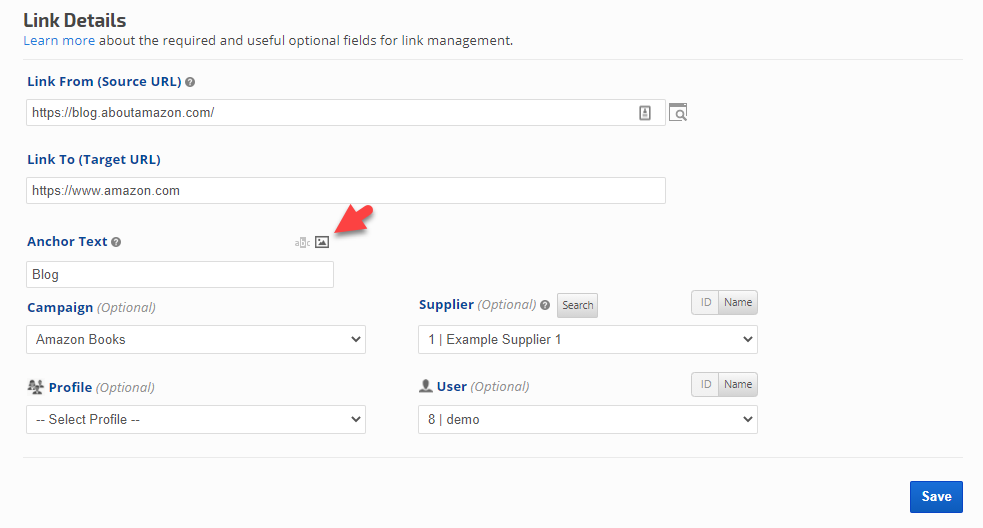
Column G anchor_text  (required) This field should contain the exact Anchor Text of the Link that is on the link source page (link_from).

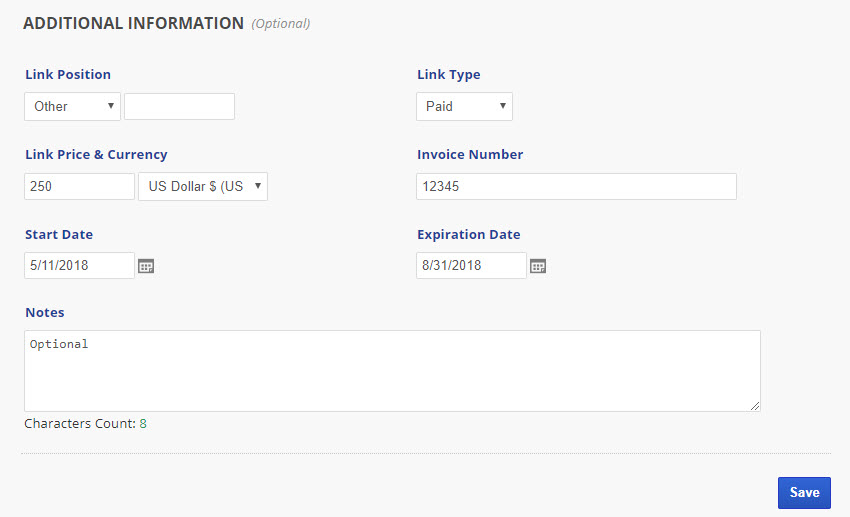
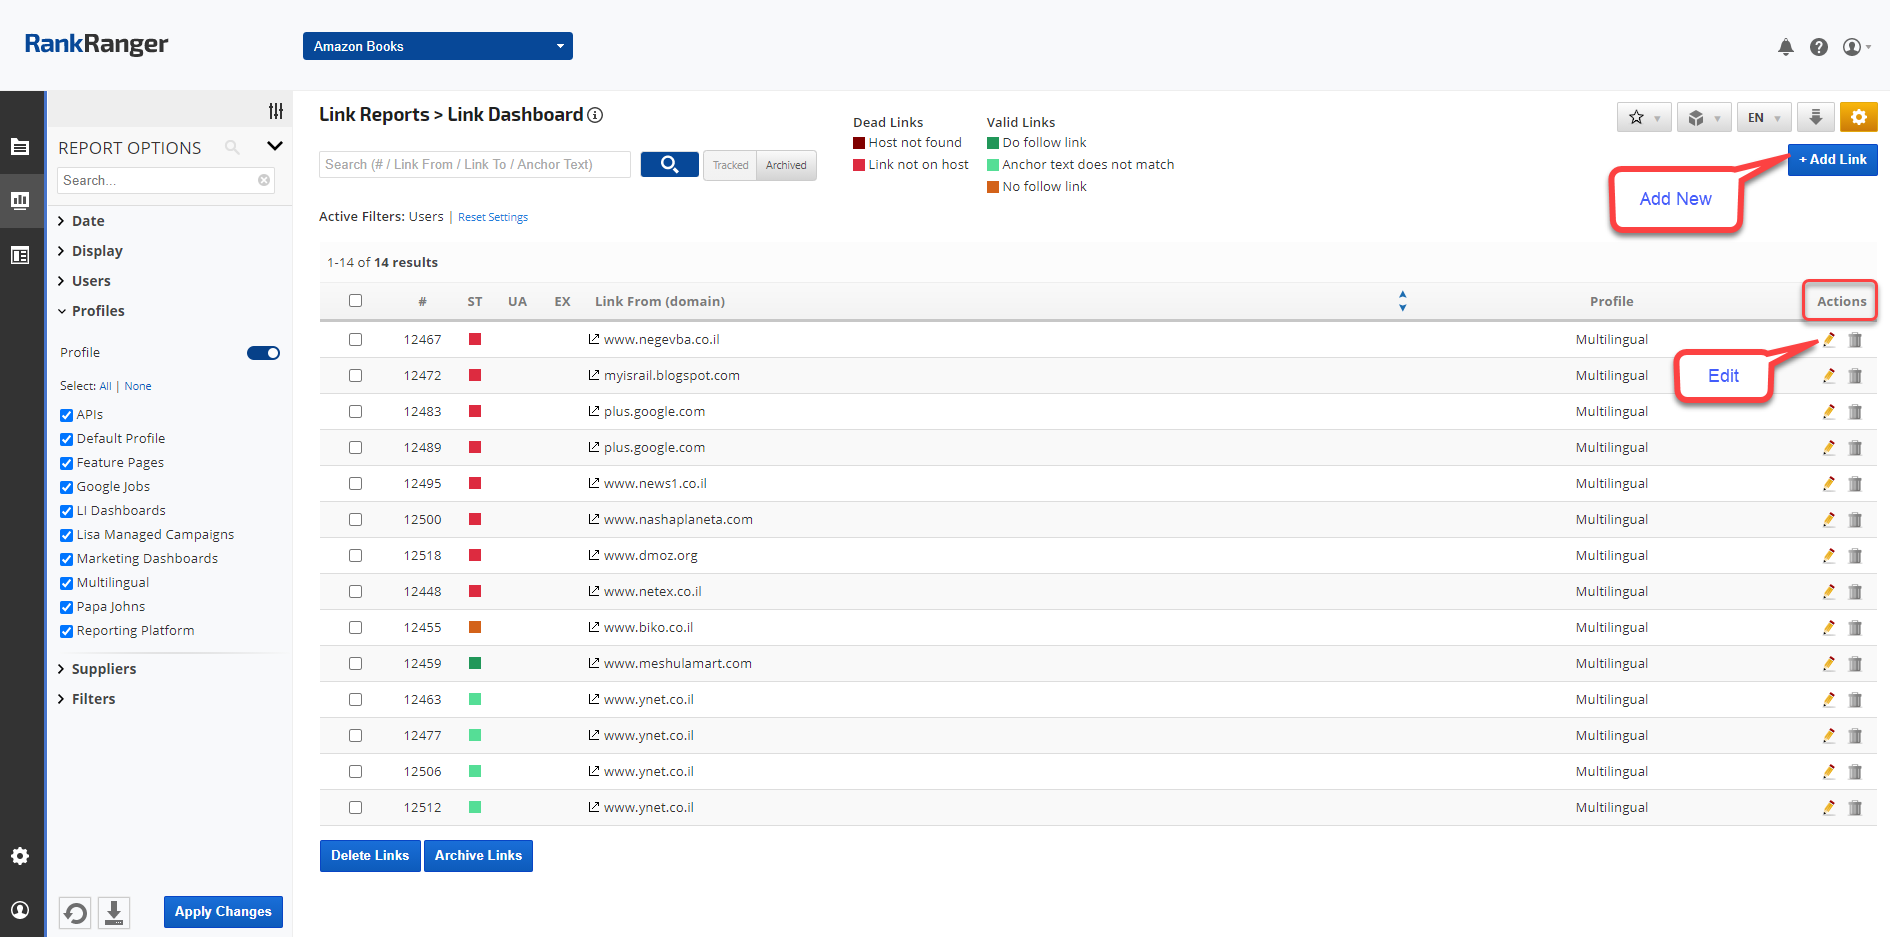
Column H  price   (optional)  If you have paid links and want to analyze them in the Link Dashboard or the Activities & Expenses report, you should enter those prices in this field (in order to avoid having to manually enter them in each Link Edit screen later). Do not enter currency symbols, only numbers.

Column I create_date (optional field and can be populated if the Creation Date should be other than the date when the link was added)

Columns J and K  start_date and end_date   (optional, but required if you want to be able to filter reports by date) These fields are used to filter reports and label links as live or expired.  Dates must be in MM-DD-YYYY format. 

Column L link_currency  (optional)  If you have paid links in multiple currencies, you can use this field to enter the 3 letter currency code for the currency of each link payment (e.g., USD, EUR, GBP, etc.). 

Column M  ip_address   (optional)  If you know the IP address, you may enter it.  If not, Rank Ranger will discover it for you.

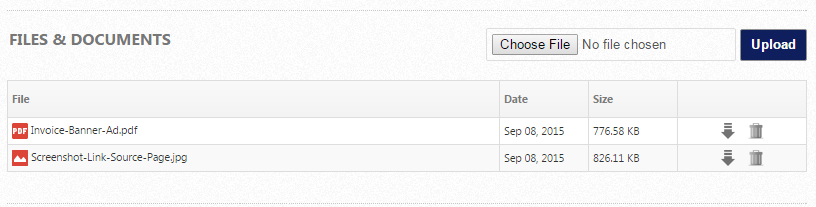
Column N  invoice_number   (optional) You may use this field to enter invoice numbers for paid links if you plan to view that data in reports and upload invoices to links.

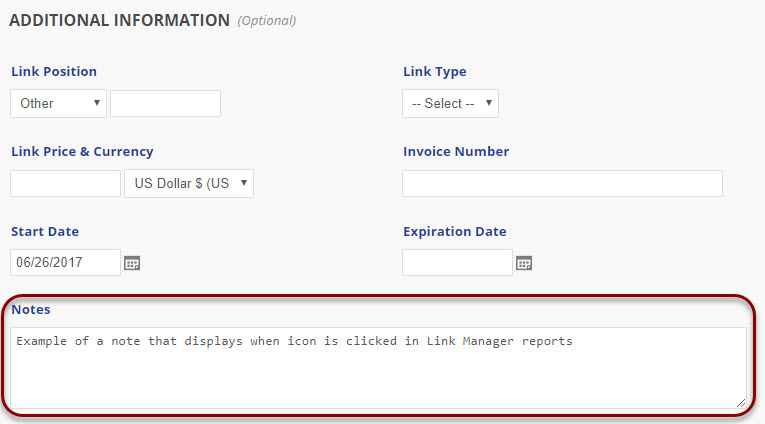
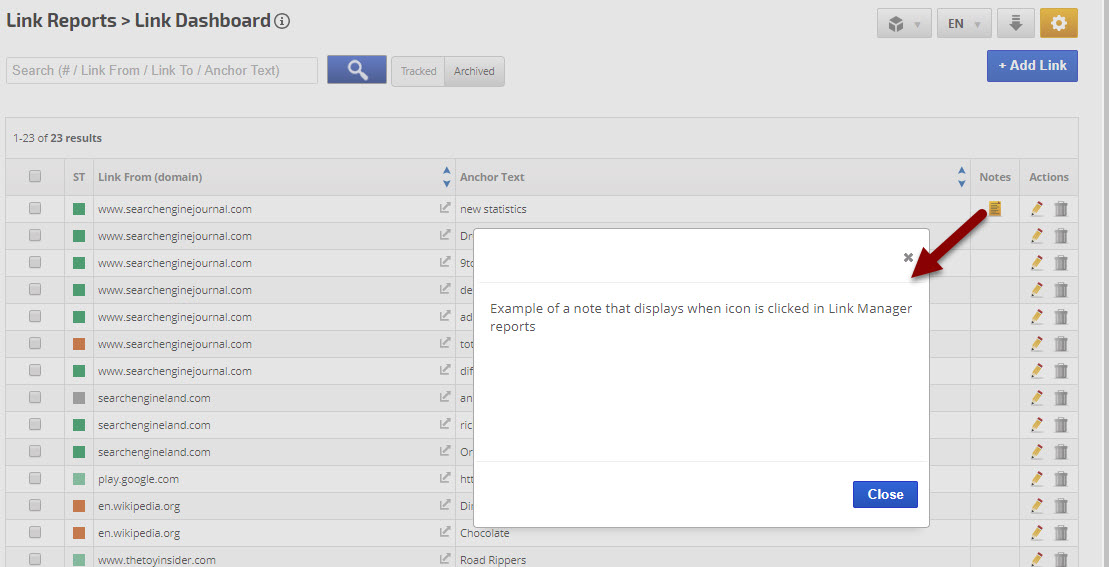
Column O  notes  (optional)  You may use this field to enter any Notes about the link for your own records.

Column P  link_type  (optional) This field can be used to help distinguish between the following link types, so if you will need that information in your reports, it should be completed before importing the file:
  • Paid
  • Non-Paid
  • Exchange
Column Q  link_position  (optional) This field may be used to record the position on the page of the link that was agreed upon:
  • Header
  • Middle
  • Footer
  • Other

Bulk Update Links


Archive, Assign Profile or Assign User

Select the Links that you want to alter, click the Bulk Action button and select the action you want to complete: Move to Archive, Assign Profile, or Assign User to the link(s).

bulk update links


Link Tracking Status & Social Metrics

 
Link Status Details

After Link Manager has collected the initial data for your link, status details can be viewed on the Add/Edit Link screen for each individual link.
Creation Date is the date the link was added, however, this date can be changed if required when Editing the Details screen.

 link=


Dead Links


Dead Link status usually means that either the Host was not found or the link does not exist on the host site. Under rare circumstances, the host's security is blocking the ability for the page to be scanned, and so we offer the User Action: Ignore for situations when you have manually verified that the link does exist per your agreement with the host and you want your team to know that no action is required.  

Link Status Dead Link ignore


Social Signals for Source Page

Social signals are reported for the link source page URL activity: Facebook and Pinterest
 
Link source page social signals


Set Campaign to track Links in Pro View

More

Profiles for Rank & Backlink Reporting

More

Link Manager File Storage in Google Drive

More

Add Link Notes for display in Rank Reports & Graphs

More

Get the ultimate SEO tools with the Rank Ranger Software
Learn More About Rank Ranger